WordPress Appearance Settings
In this chapter, we will learn about Theme management. It includes image files, templates, CSS stylesheets, etc. that can help to make your website look great. This chapter discusses how to install, add new, or customize themes in WordPress.
Following are the steps for Theme Management.
Step (1) − Select Appearance → Themes from the dashboard.
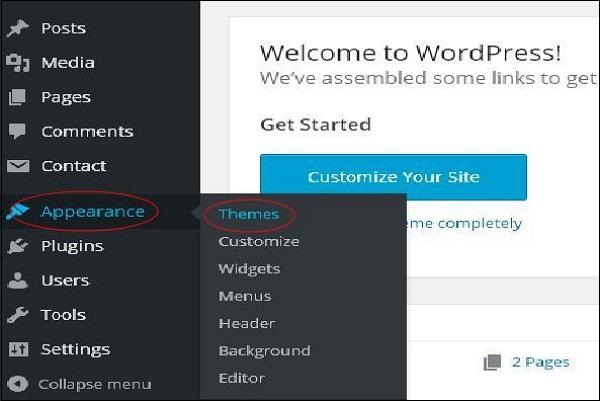
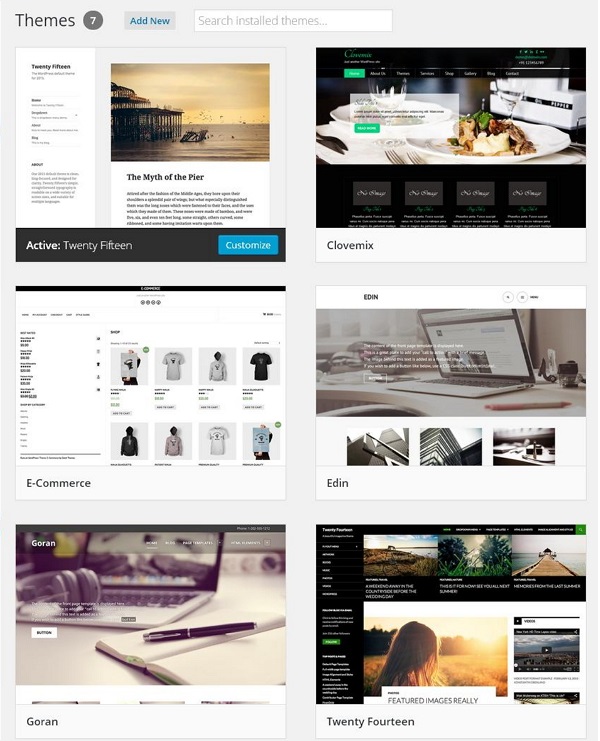
Step (2) − The following screen will be displayed. Hover over any theme and click on Theme Details.

Step (3) − When you click on Theme Detail the following page appears. It consists of details related to the theme. Details like version, description, tags etc.
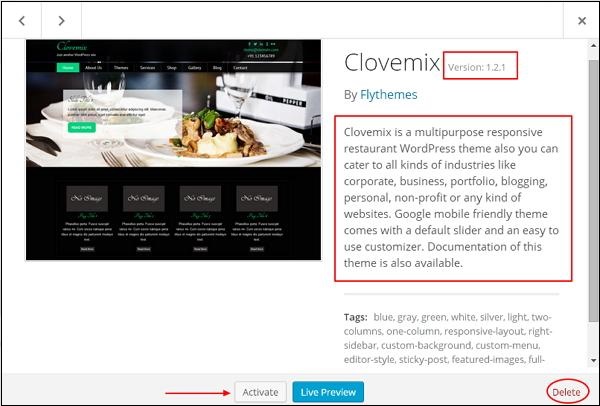
If you want to add this theme to your page/website then click on Activate, and if you want to just check the theme, then click on Live preview.
If you click on activate then you get a pop-up message as −

Step (4) − Click on Customize.
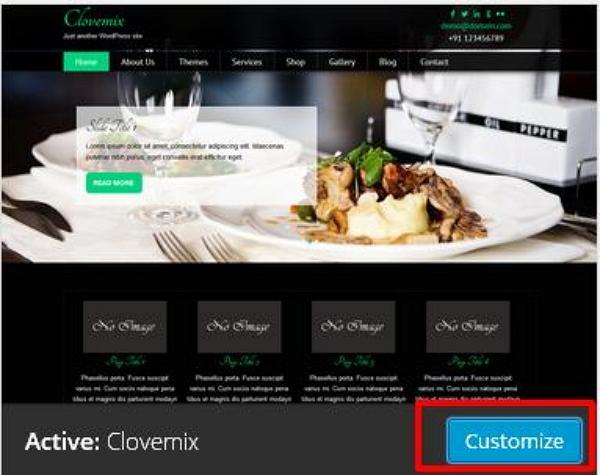
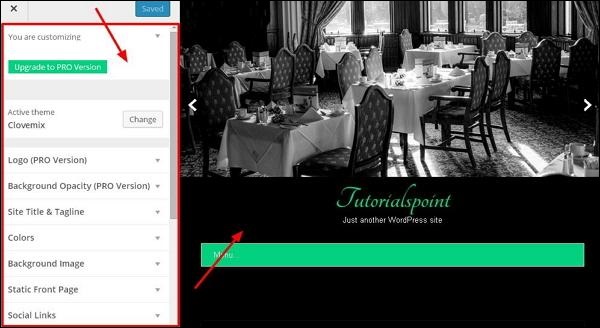
Step (5) − On the left side of the page, you can customize your theme. Any changes you make or anything new you add is displayed on the right side of the page.
Customising Theme
In this chapter, we will learn how to customize themes. Customizing themes help you to give a new look to your website. Here you can change background images/colors, add titles, and do much more.
Following are the steps of Customize theme.
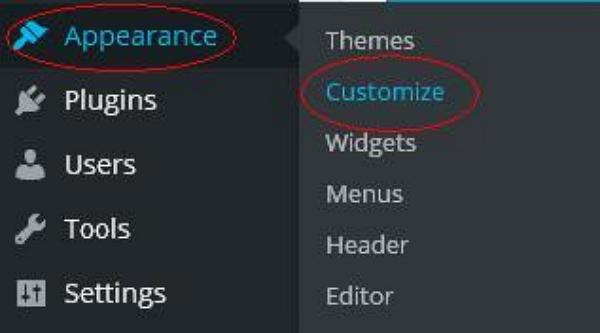
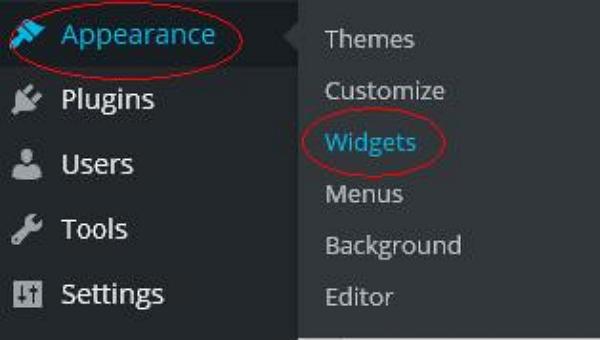
Step (1) − Click on Appearance → Customize.
Step (2) − The following screen will be displayed.
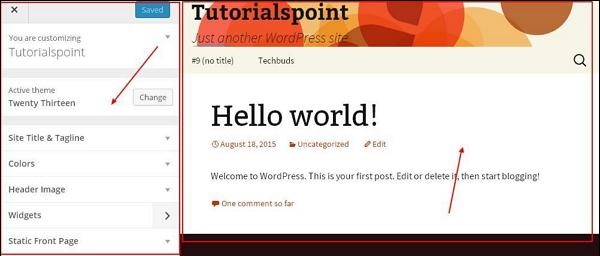
As can be seen, on the left side we have the customizing section, and on the right side we have the theme you have chosen. So any changes you make on the left side will be displayed on the right side of the page. Here are a few options you must know −
Active theme − In this section, you can change the current theme just by clicking on ‘Change’.
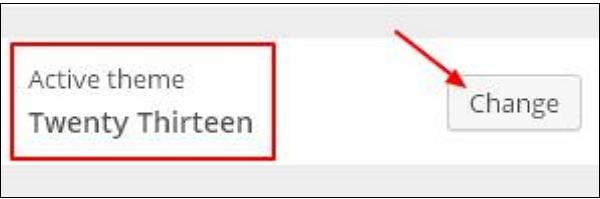
When you click on ‘Change’ you get a list of themes, click on any of the themes, and then click ‘Save & Continue’. Your theme will be
When you click on ‘Change’ you get a list of themes, click on any of the themes, and then click ‘Save & Continue’. Your theme will be saved.

Site Title & Tagline − In this section, you can add the site title and tagline you want to add to your website.
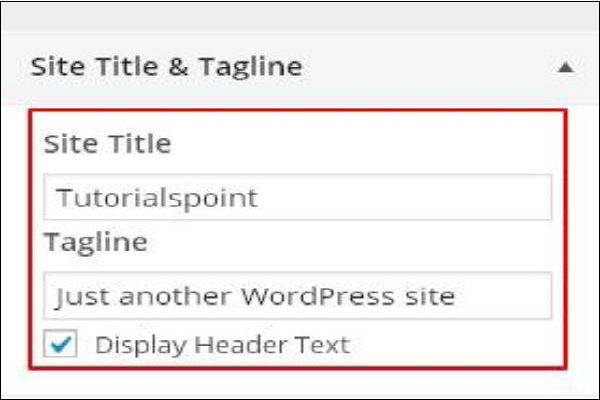
Add your title name in the ‘Site Title’ section. And your tagline in the ‘Tagline’ box.
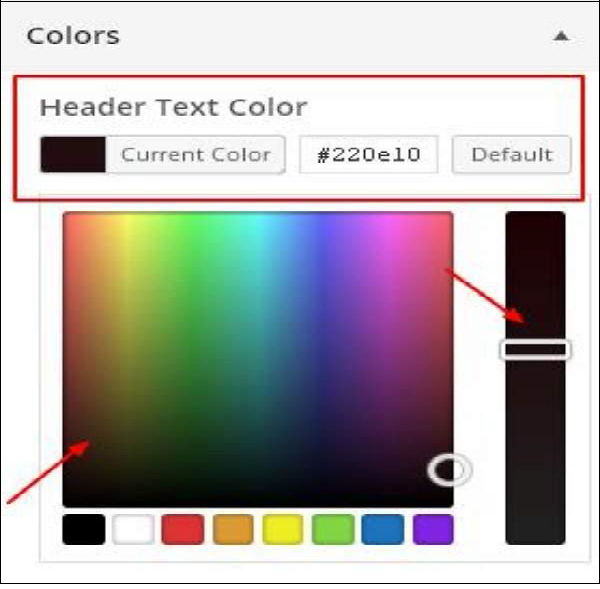
Colors − You can change your header text color using this section. As you scroll through the colors you find changes happening on the right side of your page. You can even add a color of your own into the box that is situated in between ‘Current color’ and ‘Default’.
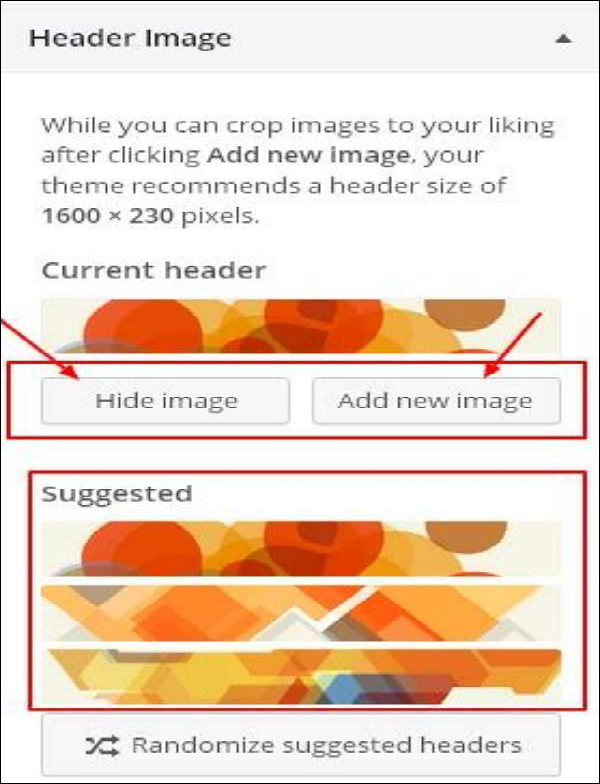
Header Image − Add a header image either by selecting from the suggestions or you can add an image of your own by clicking on ‘Add new image’.
Widget Management
In this chapter, we will study about Widget Management. Widgets are small blocks that perform specific functions. These give design and structure control to the WordPress theme. Some specific features of a widget are −
- They help you add content and features.
- They can be easily dragged and dropped in widget area.
- They vary from theme to theme. They are not same for every theme.
Step (1) − Click on Appearance → Widgets.
Step (2) − The following screen showing available widgets appear.
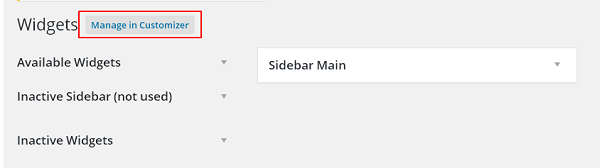
The following functions appear on the page −
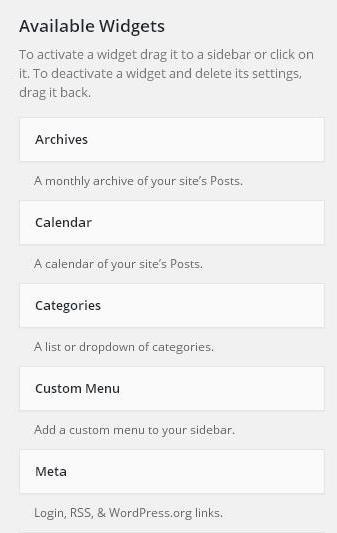
- Available Widgets − You can use these to add into your sidebar main.
- Inactive Sidebar (not used) − These are not used and can be removed permanently from the widget list.
- Inactive Widgets − Removes the widgets from sidebar but keep it in the settings.
- Sidebar Main − Any widget you add here will appear on your site.
- Manage in Customizer − Takes you back to customization page.

Step (3) − Drag and drop in the Sidebar Main. Any widget you add here, shows up on your site.
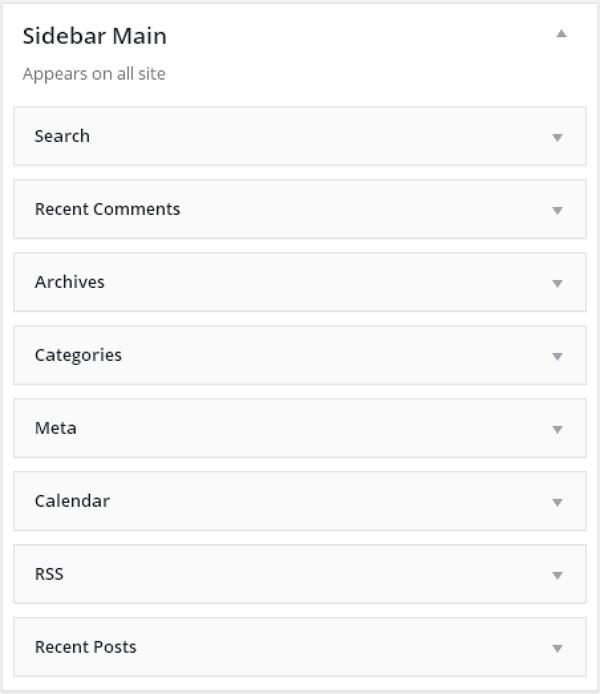
All widget you added will be saved automatically and showed up on your website.