WordPress Post Settings
In this post, you will learn how to Add Posts in WordPress, Preview Post, Publish Post, Edit Post and Delete Post.
Posts are also known as articles and sometimes referred as blogs or blog posts. These are used to popularize your blogs.
Note: If you are using your Smartphone, you will need to install the following plugins to make the editing easier:
- Classic Editor
- Classic Widget.
Recommended: If you don’t know how to install WordPress Plugins click here.
But if you are using PC (personal computer) you may not need to install the classic plugins.
We use Classic Editing Interface in this post for the purpose of those that are still using smartphone for writing and editing their blog posts.
Following are the simple steps to Add Posts in WordPress.
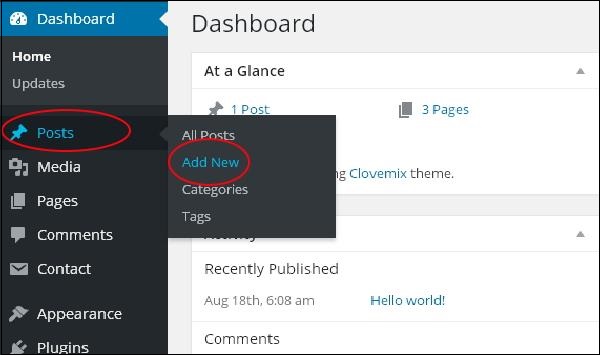
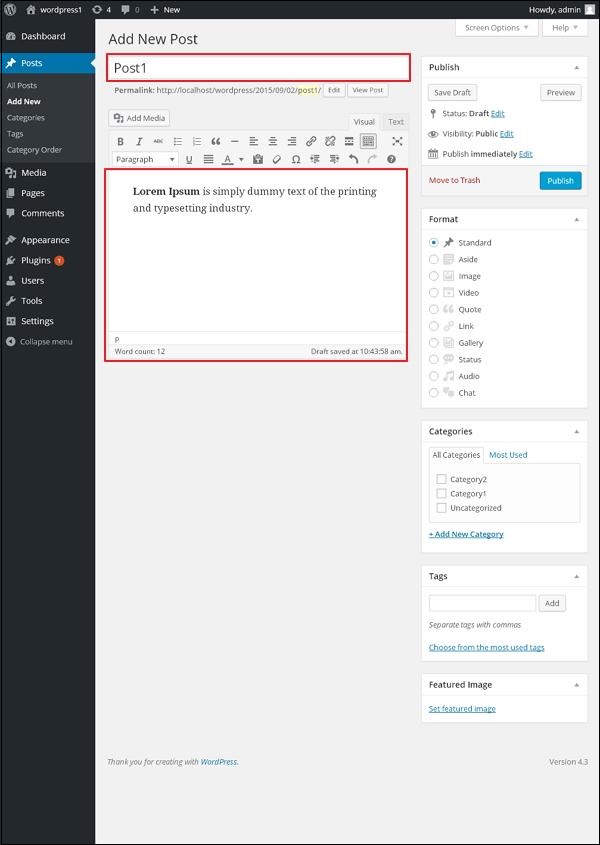
Step (1) − Click on Posts → Add New in WordPress.

Step (2) − You will get the editor page of the Post as shown in the following screen. You can use the WordPress WYSIWYG editor to add the actual content of your post. We will study in detail about WYSIWYG editor in the chapter WordPress – Add Pages.

Following are the fields on the editor page of the Add Posts Page.
- Post Title − Enter the title of the post, i.e., Post1.
- Post Content − Enter the content of your post.
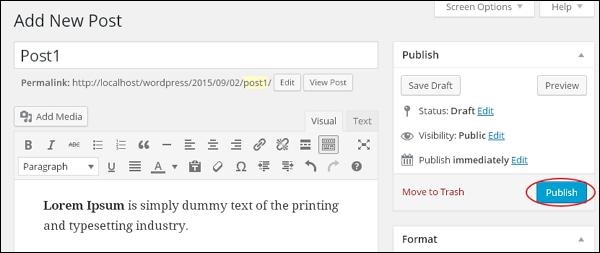
Step (3) − Click on Publish button to publish your respective post.

Following are the few other options present in the Publish section.
- Save Draft − It saves the post as a draft.
- Preview − You can preview your post before publishing.
- Move to Trash − Deletes the post.
- Status − Change the status of your post to Published, Pending, or Reviewer Draft.
- Visibility − Change the visibility of the post to Public, Private or Password protected.
- Published − Change the publishded post date and time.
Previewing Posts
Preview Post is to view the post before it is published to the user. It is safer to preview your post and verify how your post looks on the website. You can edit or change the post as per your need after previewing.
Following are the simple steps to Preview Posts in WordPress.
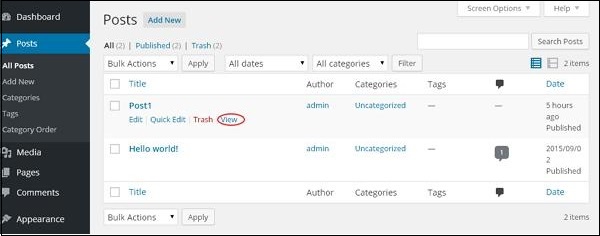
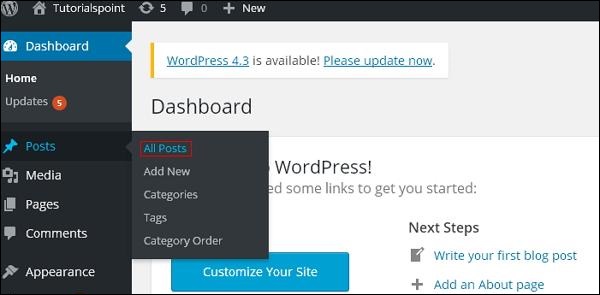
Step (1) − Click on Posts → All Posts in wordPress.

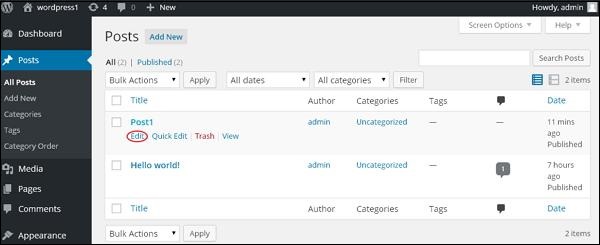
Step (2) − You can view Post1 (Post1 was created in the chapter Wordpress – Add Posts). When the cursor hovers on the Post, then a few options get displayed below the Post name. Click on the View option as shown in the following screenshot.
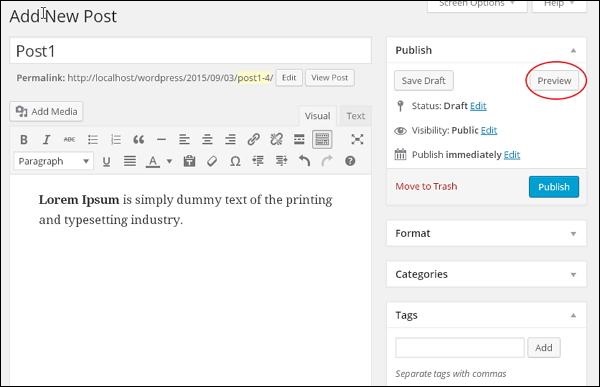
Or else you can view your post directly while editing or adding post by clicking on the Preview button as shown in the following screen.
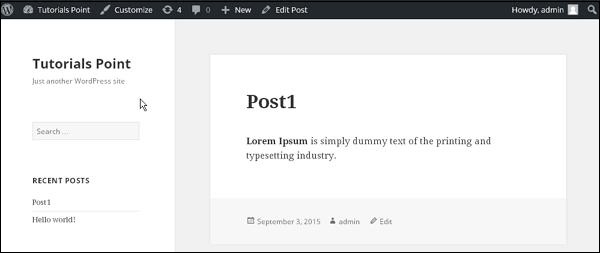
Step (3) − You can view your post, when you click on View or Preview.
Publishing Posts
Publish is used to make the post available to all the users wherein every user can view that particular post. Publishing a new post in WordPress is an easy process.
Following are the steps to Publish Posts in WordPress.
Step (1) − Click on Posts → Add New in WordPress.
Step (2) − You will get the editor page of the Post as shown in the following screenshot. You can use the WordPress WYSIWYG editor to add the actual content of your post.
Step (3) − Click on Publish button to publish your respective post.
After clicking on publish, your posts get published for the user to view it.
Editing Post
Following are the simple steps to Edit Posts in WordPress.
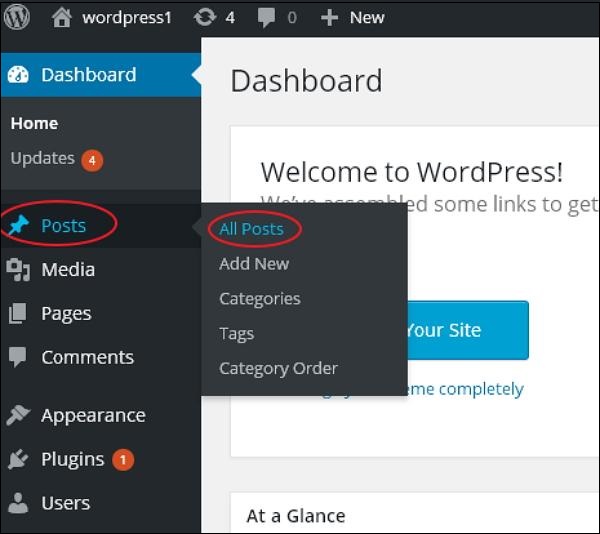
Step (1) − Click on Posts → All Posts in WordPress.
Step (2) − You can view Post1 (Post1 was created in the chapter WordPress – Add Posts). When the cursor hovers on the Post, few options get displayed below the Post name. There are two ways to edit the Post i.e. Edit and Quick Edit.
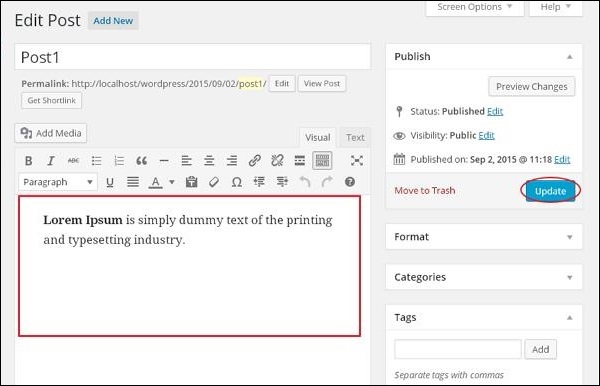
Edit − Click on Edit option in Post1 as shown in the following screen.
You can edit or change the content or title of the post as per your needs, and then click on Update button as shown in the following screen.
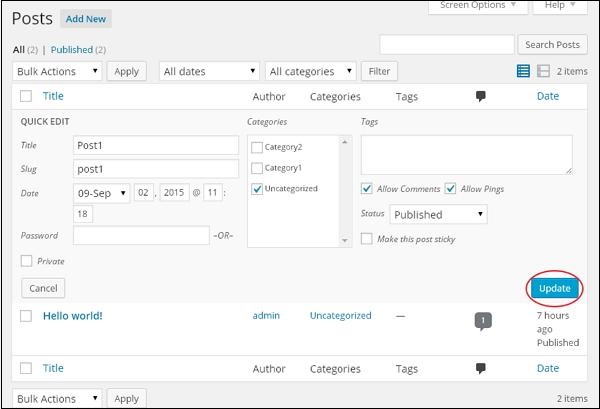
Quick Edit − Click on Quick Edit option in Post1 as shown in the following screenshot.

Here you can edit the Title, Slug and date of the posts and can also select the categories for your post as shown in the following screenshot and then click on Update button to confirm post edits.
Deleting Post
Following are the steps to Delete Posts in WordPress.
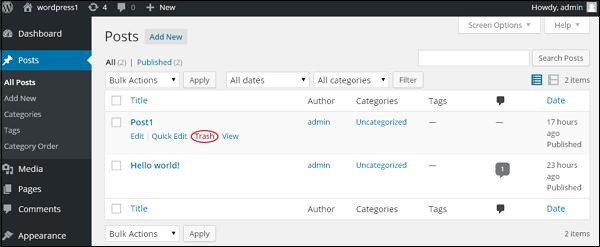
Step (1) − Click on Posts → All Post in WordPress.
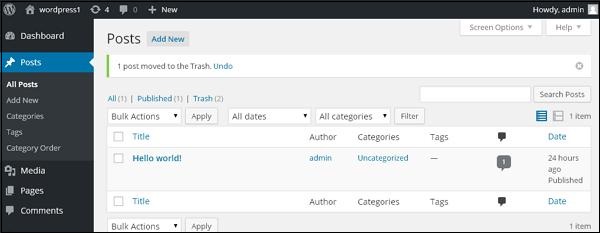
Step (2) − You can delete Post1 (Post1 was created in the chapter Wordpress – Add Posts). When the cursor hovers on the Post, then a few options get displayed below Post1. Click on Trash option to delete the post.
Step (3) − You can view your post lists to confirm if the above post is deleted.
Footnote
If you encounter any problem while customizing your WordPress website. Feel free to leave your question into the comment box below or contact me through the contact page. If you are yet to create your own website, get started by Clicking Here.